Skip to content
Home
About Us
Gallery
FAQs
Contact Us
Gallery 2
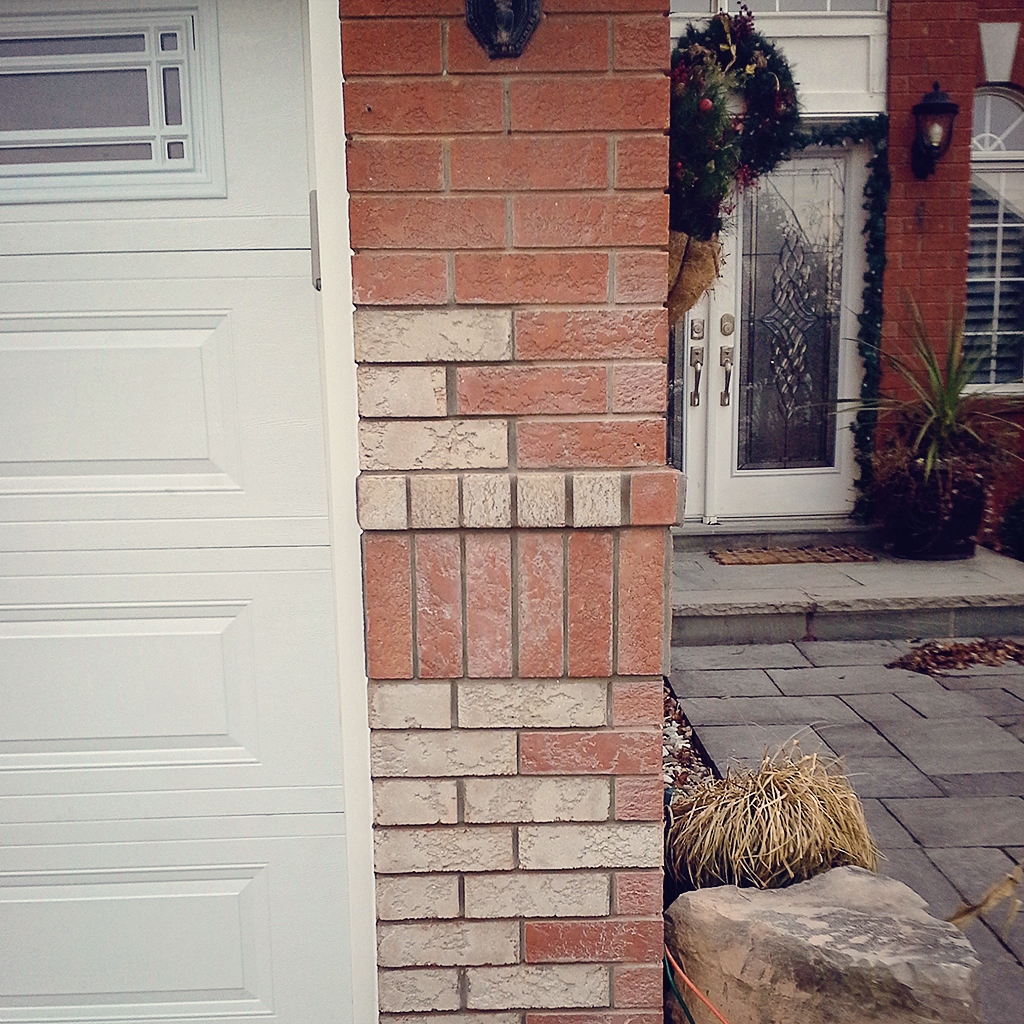
Gallery 02 : Before
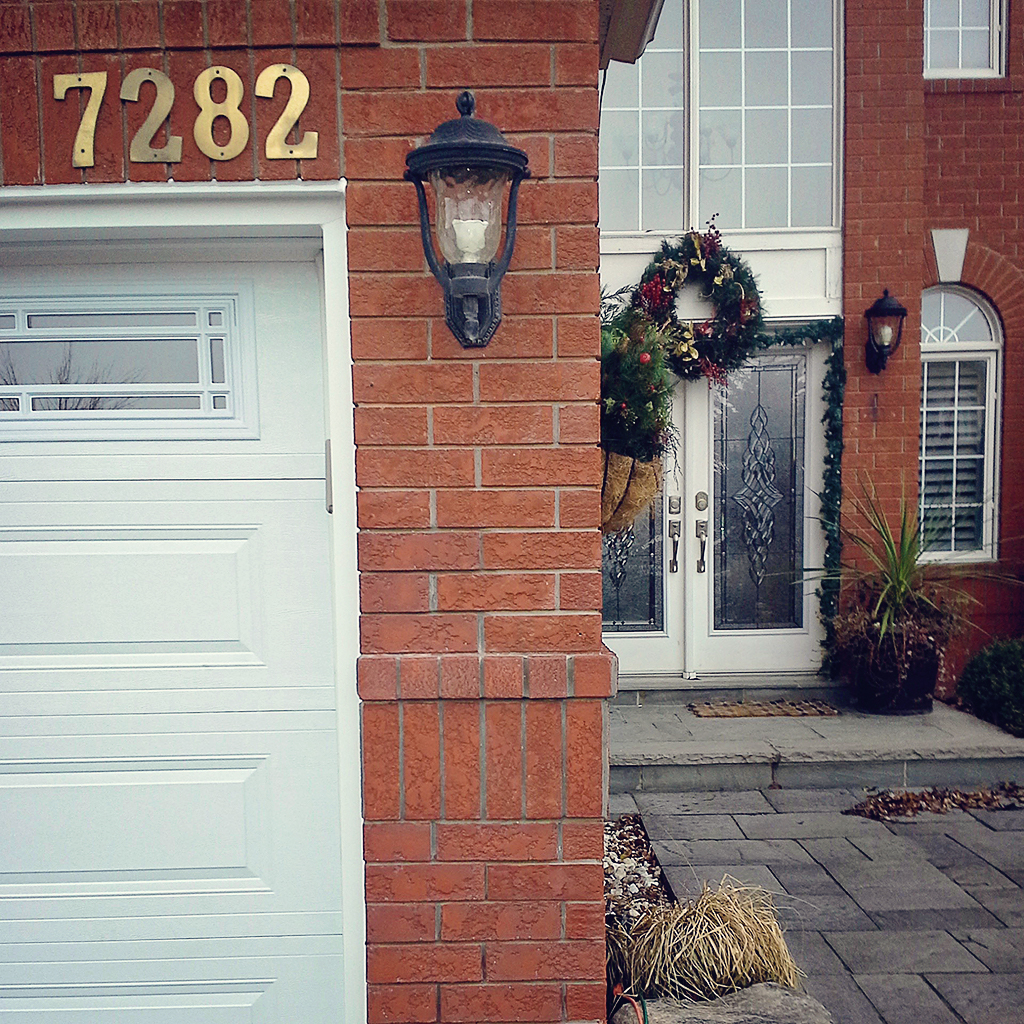
Gallery 02 : After